Scenarios
Positions worth studying, dealt straight to a practice table. Each comes with a brief, a goal and a par; the table tells you how you did the moment your move lands.
The name that sits at the table. Results stay in this browser.
Finesse
The move that is not the obvious one — reading the whole table before you throw.
The free joker
Your 3-6-9 Dots hand is two tiles from home and the pair of 7 Craks is junk — but South's exposed pung of 7 Craks carries a joker. One 7 Crak buys it.
- 3 Dot
- 3 Dot
- 3 Dot
- 6 Dot
- 6 Dot
- 6 Dot
- 9 Dot

- 9 Dot
- 9 Dot
- Plum

- Orchid

- White

- 7 Crak
- 7 Crak
- Goal
- Redeem South's joker with a 7 Crak before you throw.
- Par
- Redeem the joker before you throw
- Hand
- 333 666 999 FFF + DD
Not tried yetQuint over kongs
Like 3s across three suits, four Red Dragons and a joker. The kong lines look natural, but the card's quint hand is closer — and the lone 9 Crak fits nothing you can still make.
- 3 Bam
- 3 Bam
- 3 Bam
- 3 Crak
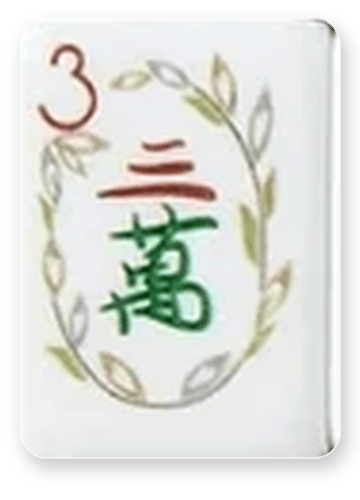
- 3 Crak
- 3 Crak
- 3 Dot
- 3 Dot
- Red

- Red
- Red
- Red
- Joker

- 9 Crak

- Goal
- Throw the tile that fits no hand you can still make.
- Par
- The right throw, first try
- Hand
- NNN NNN NNN + DDDDD
Not tried yet


Pairs
Pairs cannot use jokers, so which pair you keep decides the hand.
Break the lonely pair
Consecutive Craks, 1 through 4, with a lone 5 and a pair of Norths. The run wants a pung of 4s and a pair of 5s — so the single stays, and one of your pairs is only ballast.
- 1 Crak
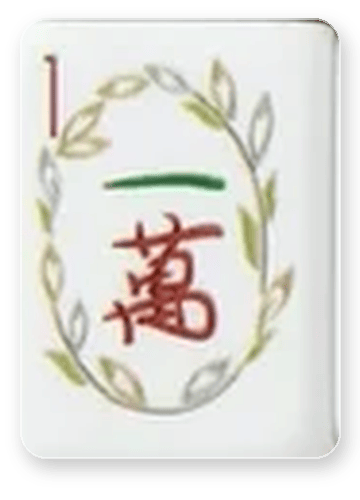
- 1 Crak
- 1 Crak
- 2 Crak
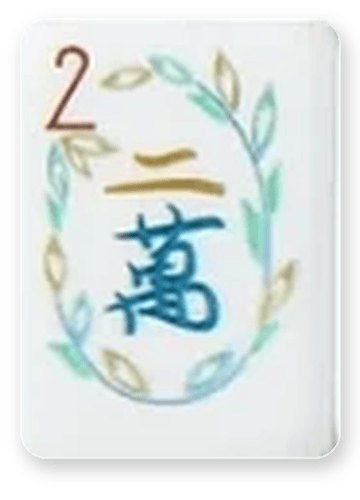
- 2 Crak
- 2 Crak
- 3 Crak
- 3 Crak
- 3 Crak
- 4 Crak
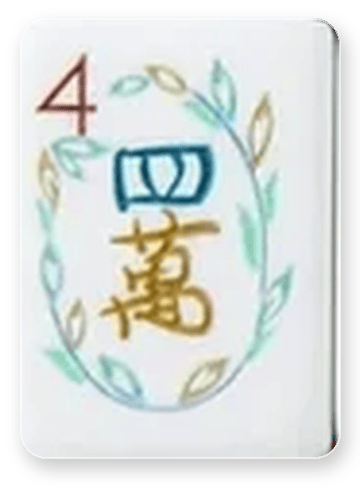
- 4 Crak
- North
- North
- 5 Crak
- Goal
- Throw from the pair that no hand of yours can use.
- Par
- The right throw, first try
- Hand
- NNN (N+1)(N+1)(N+1) (N+2)(N+2)(N+2) (N+3)(N+3)(N+3) + (N+4)(N+4)
Not tried yetSix pairs made
Six pairs made, two singles left: an 8 Bam and a 9 Bam. Seven Pairs is one tile away — the only mistake here is breaking a pair.
- 1 Dot
- 1 Dot
- 4 Dot
- 4 Dot
- 2 Crak
- 2 Crak
- 7 Crak
- 7 Crak
- East

- East
- Green

- Green
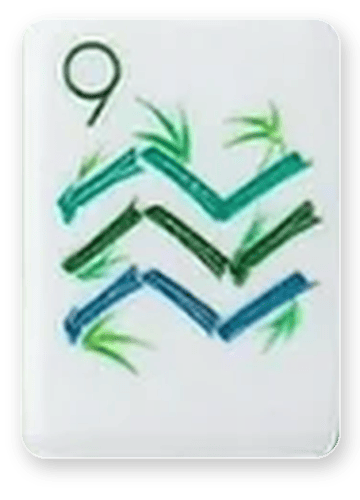
- 9 Bam
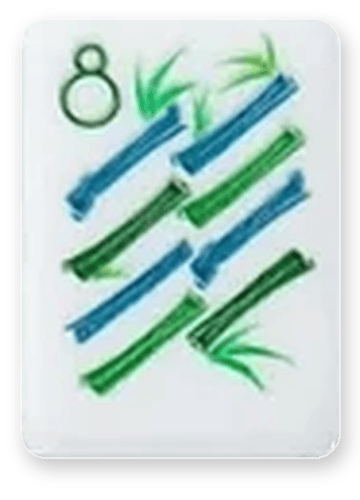
- 8 Bam
- Goal
- Throw one of the singles, never from a pair.
- Par
- The right throw, first try
- Hand
- Seven Pairs (concealed)
Not tried yet


Defense
When your own hand is gone, the only game left is not feeding someone else's.
Dead hand, safe throw
A pung of 4 Bams beside a pung of Norths fits no hand on the card: this rack is dead. West shows kongs of 3 Bams and 6 Bams, and only one hand takes both — it still needs 9 Bams and a pair of dragons.
- 1 Dot
- 3 Dot
- 6 Crak
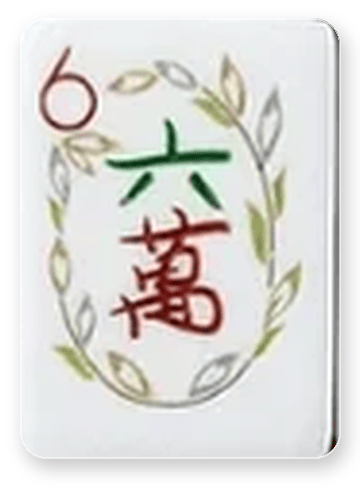
- 8 Crak
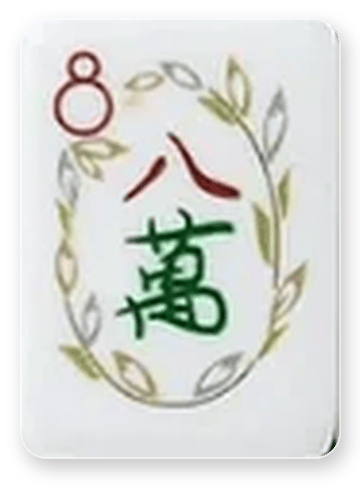
- 9 Bam
- Plum
- West

- Red
- Goal
- Throw a tile West's hand cannot use.
- Par
- The right throw, first try
Not tried yet


Jokers
Where a joker goes matters more than how many you hold.
Two jokers, one home
A kong of 3 Dots, two 6 Dots, three 9 Dots and a pair of Soaps, with two jokers to fill the kongs. One stray tile has no place in a 3-6-9 line.
- 3 Dot
- 3 Dot
- 3 Dot
- 3 Dot
- 6 Dot
- 6 Dot
- 9 Dot
- 9 Dot
- 9 Dot
- White
- White
- Joker
- Joker
- 5 Bam
- Goal
- Throw the tile that no 3-6-9 hand can use.
- Par
- The right throw, first try
- Hand
- 3333 6666 9999 + DD
Not tried yet

Closing
One or two tiles from home: pick the right wait and take the tile when it comes.
One away, four winds
Three wind pungs, a pair of Norths and a pair of Reds: one North away from mahjong. The wall will deliver it — as long as you keep the wait open.
- East
- East
- East
- South

- South
- South
- West
- West
- West
- North
- North
- Red
- Red
- Goal
- Win within two draws.
- Par
- Win within 2 draws
- Hand
- EEE SSS WWW NNN + RR
Not tried yetThe long wait
Kongs of 7s in Bams and Craks, three 7 Dots and a pair of Easts. The last 7 Dot is deep in the wall — reach it without throwing anything the hand needs.
- 7 Bam
- 7 Bam
- 7 Bam
- 7 Bam
- 7 Crak
- 7 Crak
- 7 Crak
- 7 Crak
- 7 Dot
- 7 Dot
- 7 Dot
- East
- East
- Goal
- Win within three draws.
- Par
- Win within 3 draws
- Hand
- NNNN NNNN NNNN + EE
Not tried yet


New to the rules? Read how this parlor plays.